In addition to my current responsibilities at Endeavor, I recently started as the Head Strength and Conditioning Coach and Manual Therapist for the Philadelphia Flyers Junior A team, a Junior A team that formed locally as part of the newly formed United States Premier Hockey League (USPHL). This is a really fun and exciting opportunity for me. Those of you that know me well know that, despite loving my job, I miss being in a team setting. There’s something about the long grind of a season, and working together to pursue a common goal that really drives me. Additionally, because the team is brand new and I know the Head Coach so well, I have a lot of freedom that probably isn’t common for S&C Coaches that are new to a team. Having the ability to communicate openly and effectively with a coach can have a profound impact on team performance, as it creates a more cohesive program, syncing off- and on-ice plans, sending consistent messages to players, training/coaching a player based on individual weaknesses as relayed by the coach, etc.

Test Selection
This process will depend heavily on the philosophy of the strength and conditioning coach. I look at it from two perspectives:
- What information do I want from an tracking/analysis perspective?
- What information do I want from a programming perspective?
In this case, I wanted to get an indication of where each player stood in terms of joint neutrality and mobility. For the players that trained with us all off-season, this is a standard part of the “retest” process that allows us to track how much players improved. In the rare case that they didn’t, it allows us to start asking different questions, place a greater emphasis on manual therapy work, or refer them out to someone with different skill sets. For new players, it gives us a baseline of where they are so we can track their changes over time, and also serves as an identifier of any “red flags” that may require immediate attention.
In terms of performance, my goal was to collect information relevant to our future programming, while simultaneously collecting enough information to physiologically profile the athletes. In simple terms, I want to be able to pick out the players that fall on either extreme end of the continuum from the high power, poor endurance players to the high endurance, poor power players. This gives me information to discuss goals with the player, discuss how these things may be influencing on-ice limitations in the coaches eye, as well as to drive any individualization from a programming or nutrition standpoint.
Our testing battery included:
- Neutrality/Mobility
- 3-Site Body Fat Analysis
- PRI Assessments of Neutrality/Ligamentous Integrity: Extension Drop Test, Adduction Drop Test, Passive Abduction Lift Test, Shoulder Internal Rotation, Shoulder Flexion, and Horizontal Shoulder Abduction
- FMS Assessments of Mobility: Active Straight Leg Raise, Shoulder Mobility, Ankle Mobility (not formally part of the FMS-7), and Cervical Spine Screens I took from the SFMA
- Quadruped Rock
- Seated Hip Internal and External Rotation
- Performance
- Vertical Jump
- Lateral Bound
- Reverse Lunge (Back Squat Grip) 5-RM
- Bench Press 3-RM
- Chin-Up Rep Max
- 12 x 50-Yard Shuttles on 30s
- Average Heart Rate
- Maximum Heart Rate
- 60s Heart Rate Recovery
Scheduling the Tests
My major concern with the test scheduling was ensuring that I’d get accurate data. If the information collected isn’t accurate, it’s impossible to interpret. For example, if you want to know a player’s maximum vertical jump height, it’s unlikely you’ll get valid information if you assess this after they skate. Similarly, it wouldn’t be ideal to perform a lower body strength test before a lower body power exercise, as fatigue from lower body strength testing is more likely to interfere with a single-effort power test than vice versa. This is not only important from a within testing day perspective, but also from day to day, as soreness will inevitably effect testing performance as well.
For this reason, we set up the schedule as follows:
- Day 1: AM: Body Comp, Neutrality, Mobility Testing; PM: Practice
- Day 2: AM: Power, Conditioning Testing; PM: Practice
- Day 3: AM: Strength Testing; PM: Practice
- Day 4: AM: Practice; PM: Training Session
- Day 5: AM: Practice; PM: Training Session
- Day 6: AM: Practice; PM: Training Session
- Day 7: PM: Scrimmage
This set-up allowed us to get testing numbers from the kids while they were fresh. The practices during the first three days were light so the players had plenty of gas in the tank for off-ice testing. Naturally, it doesn’t matter if the players are off-ice phenoms if their on-ice skills aren’t refined/prepared. The extra skill work early in the week, followed by having skates before training sessions, and training sessions that were more oriented toward teaching fundamental movement patterns we’ll be using a lot this season allowed a smooth transition from a testing to on-ice preparation focus.
Logistics
Some testing protocols were easier to organize than others, but the general layout looked like this:
Day 1
This was the most difficult one to handle, as there were lots of kids and lots of tests. We split the team into two groups, each blocked for an hour. When the players arrived, they would come to me for body fat, Matt Siniscalchi for a couple of the FMS tests, Matt Sees for a couple of the FMS tests, and then back to me for the remaining tests (after I had finished everyone’s body fat). In hindsight, this ran very smoothly, but we could have easily done it with just two coaches.
Day 2
The entire team came in at once. After we warmed up together, half the team went to do the Vertical Jump, the other half went to Lateral Bound. When everyone was finished testing, we swapped. This took about 15-20 minutes total. We then divided the group into 4’s to do the shuttle test. Each group took about 7 minutes so the last group had a pretty significant wait. We told guys to start rewarming up with some basic locomotion exercises when the group before them hit the half way mark, so no one was cold going into the test. While I wasn’t thrilled with having guys wait so long, I think it was good to have the entire team there to support their teammates, as this is a brutal test. Like the previous (and next) day, we had a 2-hour block scheduled to get through everything, but we ended up finishing pretty early.
Day 3
This was the easiest day to handle logistically. The team was again divided into two groups with an hour block dedicated to teach. Each group would come in, foam roll, go through a group dynamic warm-up, and then do the reverse lunge, bench press, and chin-up tests. The biggest hurdle here is that many of the players that hadn’t trained at our facility had never done a reverse lunge, so there was a bit of a learning curve. With the new guys, we emphasized that it was more about learning the movement and getting an estimation of where they were at so we could use those loads for programming more than setting a world record. There were some ugly reps throughout the morning, but overall everyone did a great job. Most kids are more familiar with bench pressing so that test ran smoothly and the chin-up test is always quick and easy because it’s only one set.
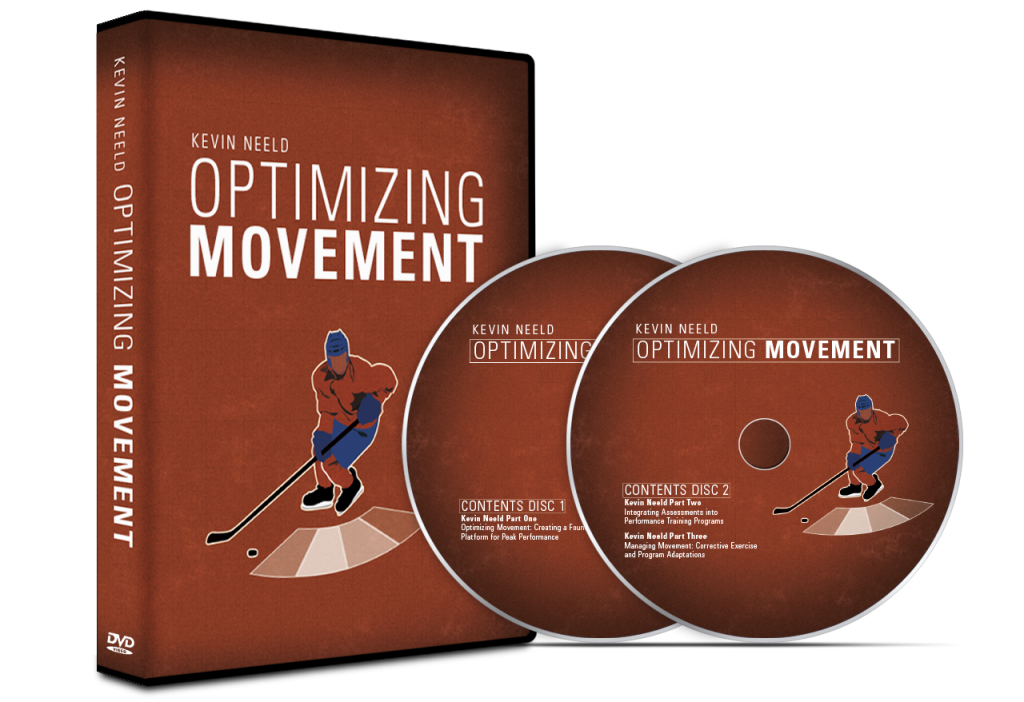
From a performance standpoint, I think this process is probably very familiar to most of the strength and conditioning coaches out there, at least those working in college or professional settings. What may be more novel is all of the neutrality/mobility testing we do, as I’ve gotten a lot of questions from people over the last year about how to integrate this information into a group or team setting, and how it’s used to alter programming. These are the exact topics I covered in my new DVD Optimizing Movement, which has been getting awesome feedback from the people that have checked it out.
“Kevin’s passion and knowledge shine through in this DVD set. He is able to teach so that a strength coach/personal trainer of any level will understand, leaving you with a hunger to learn more and an excitement to move on to the next slide. This industry is filled with information on maximizing movement quality but Kevin’s Optimizing Movement DVD is my go to. He starts from the ground up discussing the importance of setting a sound foundation for a client, using assessments to identify limitations they may have and corrective exercise to build a program fit to the individual’s needs. I refer back to the DVDs often and learn something new each time. All strength coaches and trainers will benefit from this awesome resource!”
Caitlin Vassello BS, CSCS
Strength and Conditioning Coach
Tier 4 Coach at Equinox
If you work in a group/team setting, and want to learn more about how to assess your clients/athletes and make their program and your coaching cues more individualized, Optimizing Movement will be right up your ally!
In the next two posts, I’ll discuss how I’m communicating testing results to the players and to the coach, and how I’m using testing results to drive programming decisions. Stay tuned, and as I mentioned before, please post your comments below!
To your success,
Kevin Neeld
OptimizingMovement.com
UltimateHockeyTraining.com
Please enter your first name and email below to sign up for my FREE Athletic Development and Hockey Training Newsletter!
post comments
Together We Rise: A Campaign for Everyone